Filed under: Making-of.
The Water Glass is an original project developed by Kub Studio and carried out to highlight certain aspects of 3D design than we’d been previously unable to show with other projects. We wanted to showcase a broader and more creative range of possibilities offered by CG imagery. One of the advantages of a 3D rendering is that all the elements depicted don’t have to be true to life or even plausible. In fact, it’s simple to slip into the realm of the surreal without taking anything away from the photorealistic quality, and it was important for us to be able to demonstrate that. It also gave us an opportunity to set ourselves new challenges and refine our skills in less common areas such as water simulation.
WORKFLOW
Despite starting with a very simple idea, the project underwent all the normal stages in the production process. From the modelling to rendering to post production, everything was thought through and designed. It was done in order to obtain an image that is, admittedly, anything but ordinary. The idea of a water glass appealed to us because that would have been impossible to create using traditional photography techniques. For a talented 3D designer however, the project was by no means an insurmountable obstacle.
To give you a better understanding of the world in which our team evolves, we’ve dissected all the different stages of the process one by one. It’s a long and highly challenging process. It is, however, the reason why you put your trust in us when it comes to creating all your CG images!
The idea
The idea came to us quite randomly during one of our daily discussions. We imagined a glass of water, well in fact what we really imagined was a glass made of water. No matter how abstract the idea was, it was exactly what was needed to unleash our creative energy.
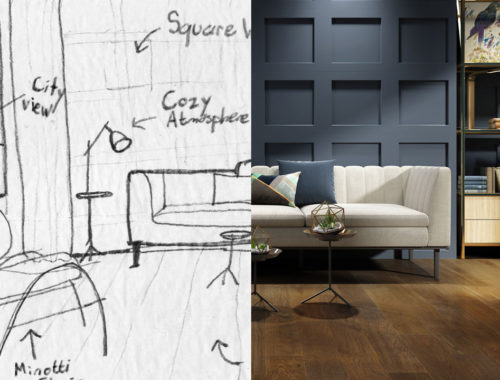
Normally when entrusted with a contract, we produce a draft outline of the project, such as a moodboard presenting a list of different ideas and inspirations. However, our designer had a clear vision of how to proceed and it was therefore decided that we’d go directly to the 3D stage.
For this project, we just wanted to think outside the box, get out of the box, experiment, etc. We wanted to show that 3D creations are not limited to representing the real and that we can go in the magic.
-Simon Favreau McNulty
Setting the stage
The entire process begins with the 3D modelling or sculpting. It’s during this stage that the models and environments are designed. Materials and textures are then created and applied to each object. The materials and textures are the “colours” assigned to the models. They also determine what these objects “are made of”!
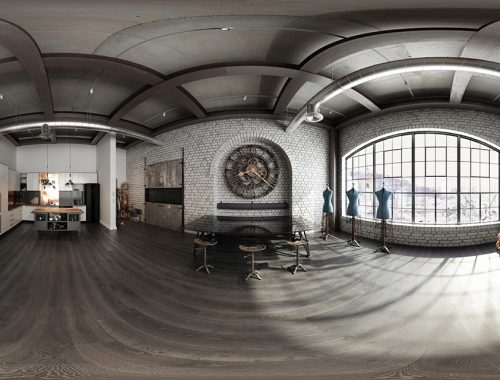
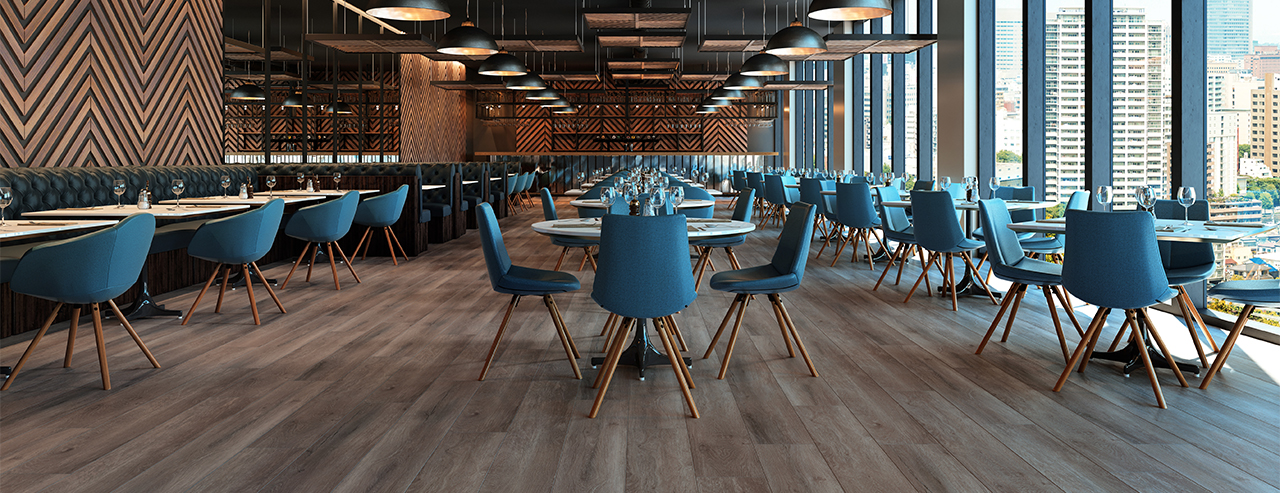
For this specific project, the modelling and texturing work was relatively simple and a pre-existing environment was used as a background. When creating CG images, working smart is an indispensable asset: in this particular case, it meant using pre-existing components which served as imprecise elements forming the background so that we could better focus on the true subject.
As regards the creation of the water glass, we decided to divide the process into two stages. First, we’d create the form and second, add the water. The idea was to make a type of mould and start running water inside it, then take away the mould leaving nothing but the water. The process is comparable to the one used for casting in metallurgy! In fact, once the water simulation had been completed, everything had solidified in the same way as a metal casting would!
An important asset for an artist who works with tight deadlines is to work smart. Modeling everything is a real time-consuming and re-using already completed objects, especially for backgrounds, can make a world of difference.
-Simon Favreau McNulty
Water simulation
The water simulation process is when, of course, we simulate the water. It’s a complex procedure performed using specialized software which emulates reality thanks to physics-based models.
There’s no exact science when it comes to simulation, it’s more a question of trial and error. Despite the fact that simulation software is based on real data pertaining to the behaviour of liquids, sometimes the end result isn’t quite what you’d expected. When this happens, patience is the order of the day and you just have to change the settings and try again.

For simulation, there is no exact recipe. It’s trial error.
-Simon Favreau McNulty
Once the simulation was done, the final step before rendering was the lighting.
Lighting plays a fundamental role when it comes to creating a photorealistic rendering. Certain details are of utmost importance such as the logic behind the source of the light. For example, if the ambiance for your scene is set in late afternoon, it wouldn’t make sense to integrate midday lighting! You shouldn’t be afraid to play with light effects and contrasts either. For this scene, we chose to go with natural light coming through the windows on the right and a few ceiling lights. After a few tests and some trial and error, we were satisfied with the result and ready to start the rendering.
Renders
Rendering is the action of “taking a digital photo”. Once each individual element had been modelled, textured and illuminated, it’s time to render the image. It’s at the rendering stage that all the little imperfections stand out and also when we can confirm our choice of lighting, textures and the overall composition of the image. Rendering an image that’s this simple and focuses on a central subject can be challenging. If there’s something missing in the ambiance or composition, it can easily make the entire render seem incomplete or dull.
Rendering can sometimes be a lengthy process depending on the complexity of the project. The lighting effects and textures are not always as attractive as you’d hoped. It’s important not to waste too much time and energy on renders that are unnecessarily large because they only serve to provide very preliminary results. These initial renders are produced in low resolution to make it easier to pinpoint any problems before moving on to the final render. If a render isn’t good enough in 300px, it won’t be any better in 5000px. A smaller render only takes a few minutes to create so there’s no need to be afraid of modifying certain elements if the overall effect seems a bit monotonous or bland.
If the rendering is not beautiful in 300px, it will not be better in 5000px. A small rendering will only take a few minutes to do, so do not be afraid to modify elements if everything seems flat or bland.
-Simon Favreau McNulty
As we’d already generated a water animation through simulation, we decided to render several images from this animation in preview mode. As we had the entire sequence, it was a lot easier to find the best shot. The selected image was then rendered in high resolution and submitted for the final stage: post production.
Post production
Post production is an essential stage in the creation of a CG image. Because renders can often contain imperfections, this is the moment when you can make all the last-minute changes. At this stage, you can adjust the colours and contrasts, as well as add or remove smaller elements. In short, this is when the renders are “tweaked” and finalized, or in other words, the moment to provide the finishing touches.
Post production for the Water Glass project was a lengthy process. The colours and contrasts were further refined and lighting effects were added to emphasize the image’s luxurious and surreal quality. During the post production stage, we also superimposed the render of an empty glass on the render of the water. And it’s this technique that allowed us to merge the reflections of both the glass and water, bringing greater realism and depth to the final image.
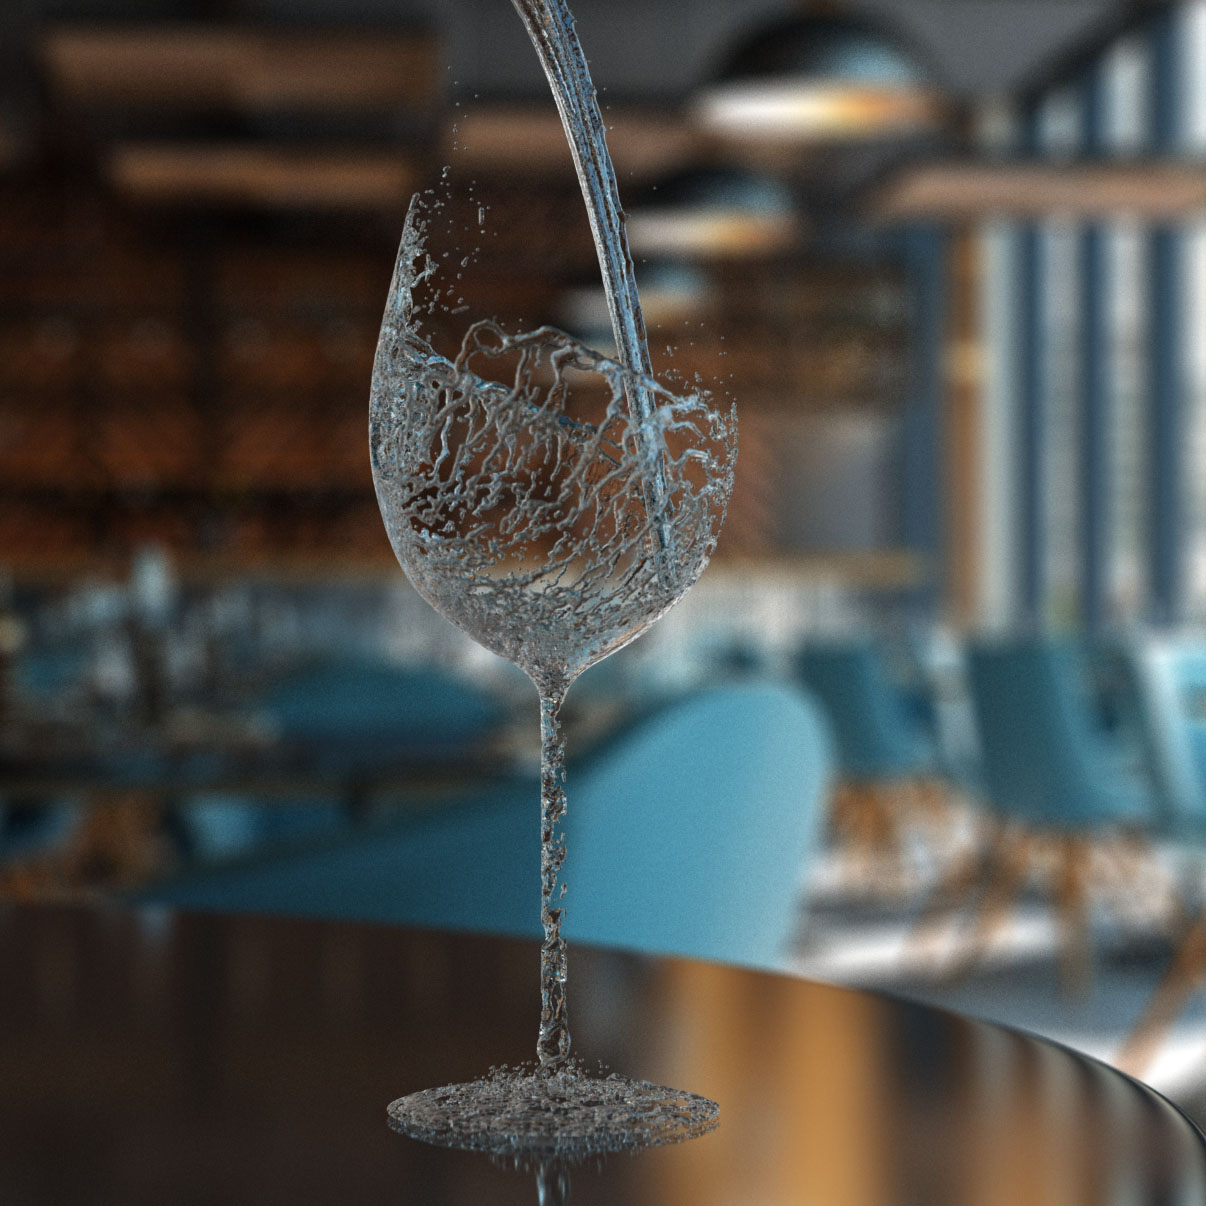
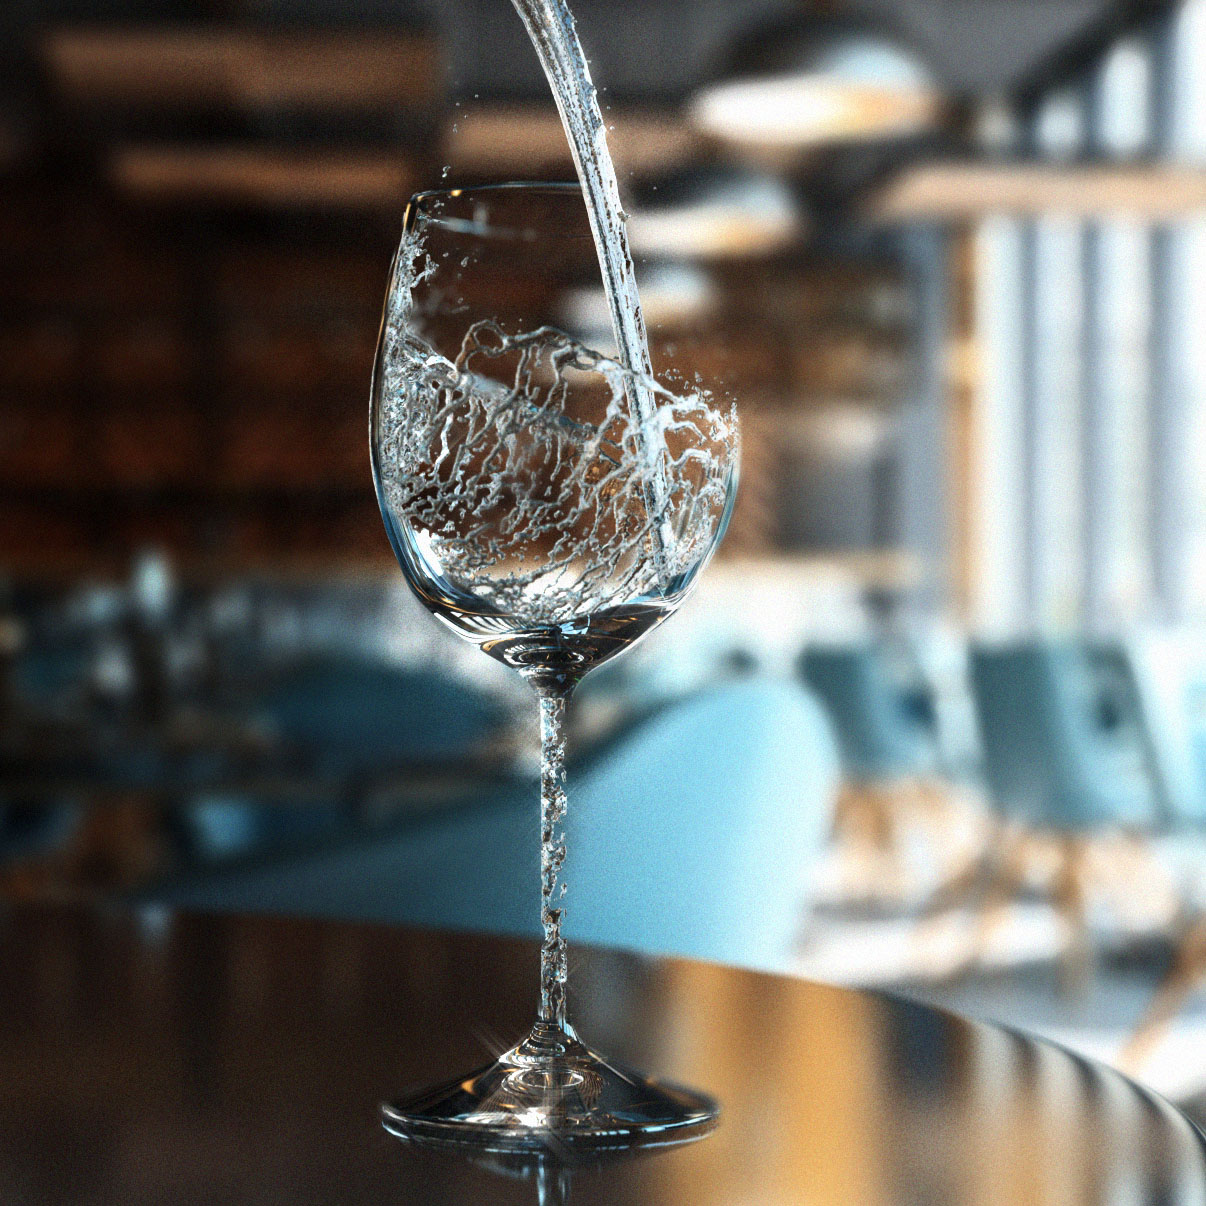
These last stages require comprehensive knowledge of image processing software. But post production makes a huge difference in a computer-generated image. It’s a bit like putting the cherry on the cake.
CONCLUSION
We turned an abstract idea into a complete image. There are several important lessons to be learned from this creative endeavour: inspiration can come from literally anywhere and we shouldn’t be afraid to experiment, make mistakes and start all over again.
Read more
View all posts

